I did my best to research around comparable technologies in order to try and find some reference and inspiration for my work. There are not too many comparable products however this “holo-box” is another example of the pepper’s ghost technology in action. This technology doe snot have a screen behind it and is much much smaller than my rig, without any additional features such as lasers. The applications of this technology and the way that 1 box can be used for how ever many projects you like is very encouraging with regard to what applications my set up might find.
Monthly Archives: May 2014
Evaluation
Overall I really am thrilled with this project if I’m honest. For a very long time I was unsure of where I wanted to go and exactly what avenue wanted to pursue so when I finally settled on the holographic glass idea I really was happy to be able to immerse myself in the project. my main aim was to create an unusual advertisement for monster with this piece and I feel I achieved that goal. The Rig itself heavily features the monster energy branding which i feel is important to constantly remind people of the purpose of the piece. The energy of the video is very high which again reflects the brand and I think I succeeded in giving the work a futuristic feel. Having said that I think there is loads more that could be done with this technology. Being able to put a product or set in between the glass and teh rear screen is the most powerful feature of this set up. The ability to combine digital with real life creates a very intriguing effect that could work for all sorts of applications.
A miniature theatrical set could be put behind the glass and characters projected onto it, the set could even be movable by utilizing a technology such as arduino. I think key to doing something like this would be improving the physical appearance of the rig. Instead of my current configuration it would be great to have one large enclosure, almost like an arcade machine in that you could just view the action through a window. This would also hide a lot of the equipment the piece needs to function, thus ensuring the user’s attention would be firmly on the action. I think this is a really exciting technology with a lot of scope for the future and I would love to persue working on this in a professional manner.
I feel I tackled the challenges presented to me well. Quite a difficult element of this project was being able to visualise how the technology would work but also how it could best be utilised. Dreaming up effects that span over two screens was what really got me excited about this project in the first place, and having the opportunity to do that was something I absolutely loved working on.
Finished Rig!
Video of my final piece in action! I have plenty of other camera angles and lighting setups which I will be sure to upload in due course.
Behind the scenes
A tour around my finished set up! Hopefully provides some useful insight.
First person filming
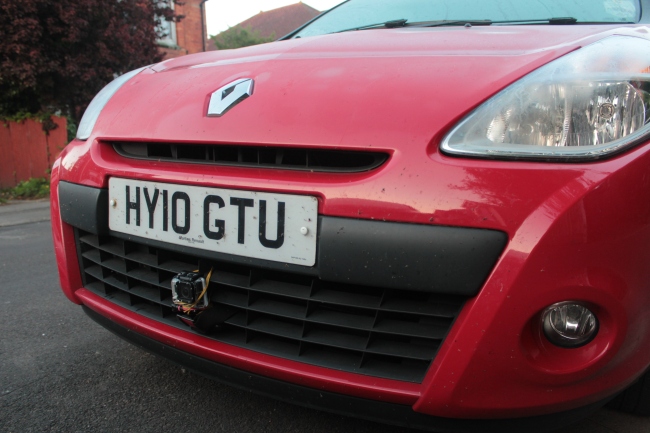
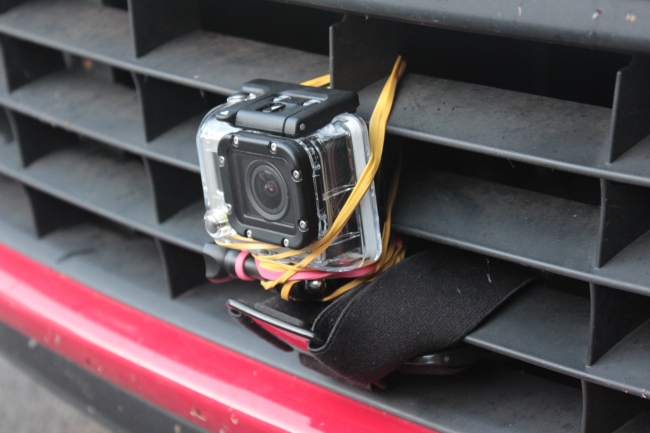
As well as all the other exciting parts of this project which I had never done before I was also able to experiment with some first person filming from the front of my car. I attached my gopro to the front bumper of my clio and went for a spin on the dual carriageway. I set the resolution to 1080 and 60fps so I was able to do a low motion effect on my final screening, I was really pleased with the result and thought it added just another unusual touch to what has been a very unusual and fun project!
Arduino
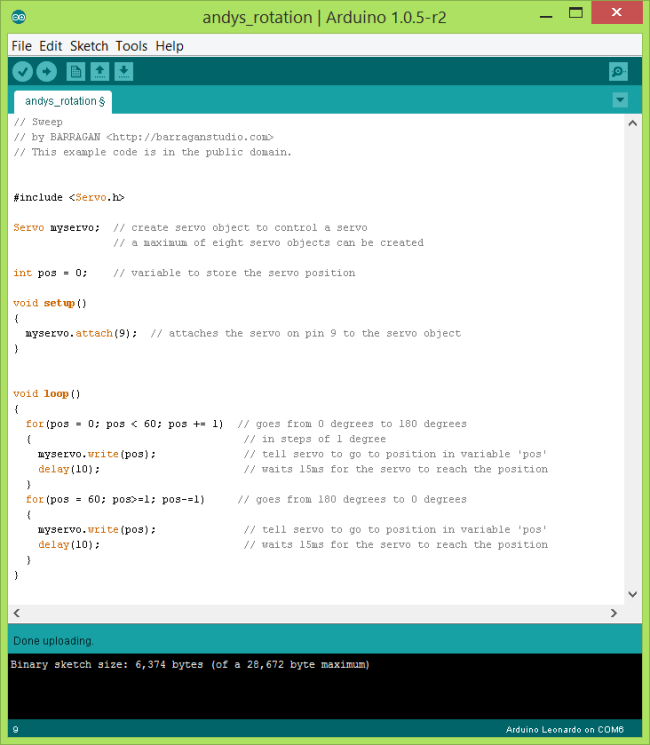
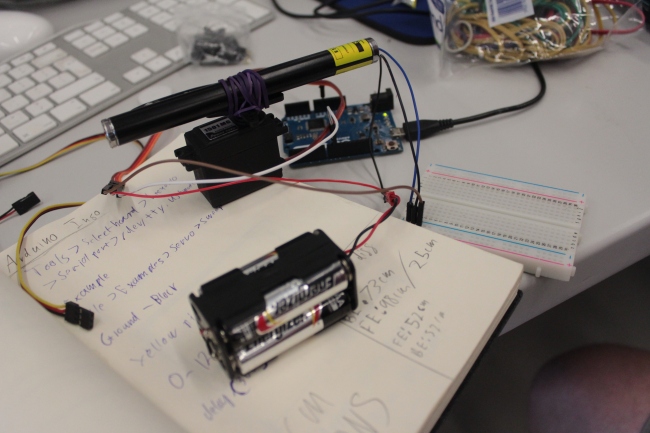
This project held a lot of new challenges for me and really tested me with tools and equipment I had not experimented with before. After a meeting with Phil it was decided that adding a simple arduino rig to my work could be a really nice touch and add that extra little something to my work. I made a simple command on arduino that would command a servo to rotate back and worth through 60 degrees, just enough to shine onto the length of my mirrored strip I had constructed.
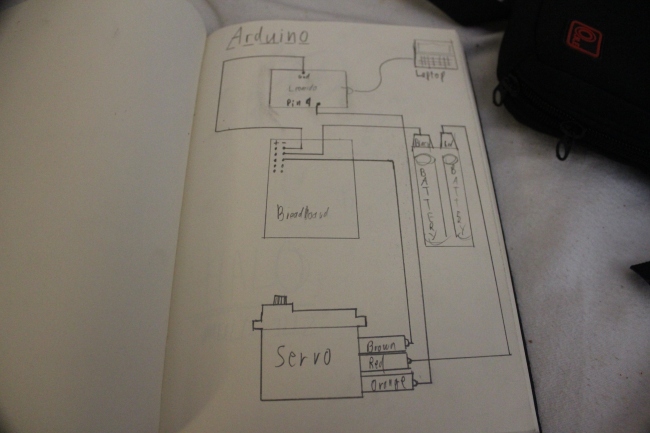
I needed a motherboard, a power supply and a USB link to my laptop in order for the arduino to work, I first drew a diagram of the elements i needed and how to wire them and then I proceeded to make and test the circuit.
Finished circuit which I then mounted onto my television stand:
In order to see the beams better I made use of Dan’s smoke machine.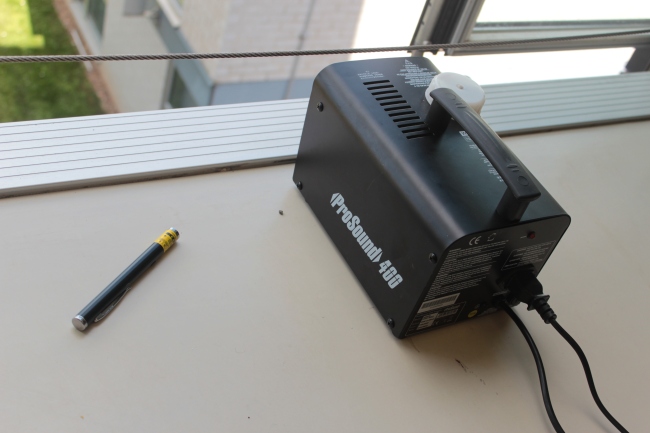
Editing
Editing was a huge huge art of the project and took up a great deal of my study time. I favoured using after effects and it allowed me to use a lot of the motion graphics techniques that I had in mind for the video. I thought that a mix of footage and motion graphics would be perfect for my needs however I thought the brief I had set myself really would suit a lot of animation as opposed to real footag eiwth a narrative. Because I have a great deal to show with my editing techniques I have recorded a video log to present my work. I feel this is much more efficient way of showing the technical processes and also creative decisions that went into my work. The video log can be viewed here – https://www.youtube.com/watch?v=_vVg1Y8QxS8
Drawings and Planning
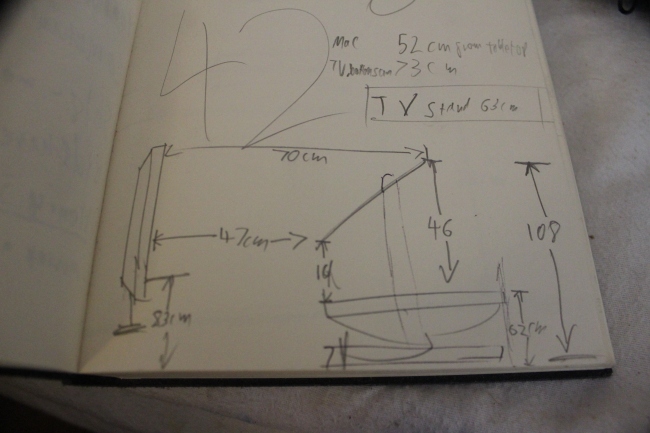
From my 3rd rig I made some really very simple, but incredible important drawings regarding the spacing of the project and the kind of wooden construction I needed to build.
After that rough sketch I drew a slightly neater one taking into account the height of the DMP tables which i went in and measured. 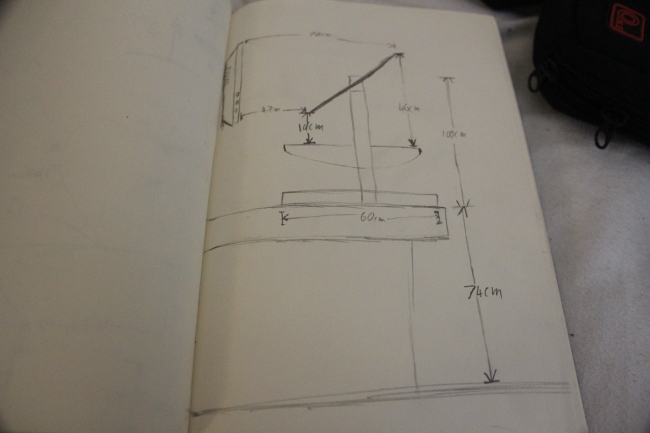
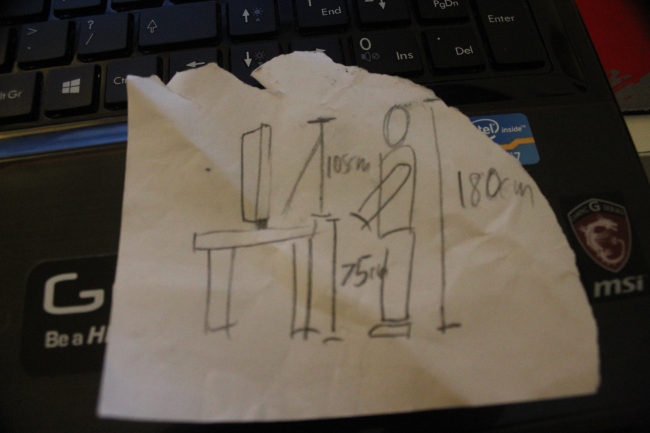
I tried to build for the height of an average person, I decided around 180cm would be suitable so I took that into account when drawing up my plans. This is the ACTUAL diagram I used when deciding how tall to make it, a piece of history.
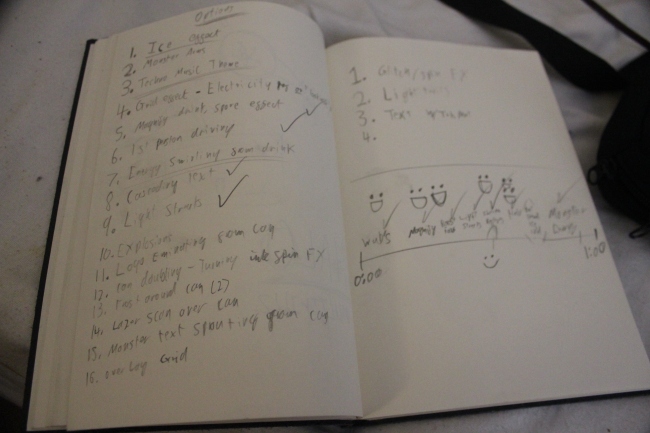
I find it hard to plan effects to the millimetre or storyboard as you never know what will and will not work when you actually start making your compositions, however I did produce some concept artwork and a shot list to give me focus and direction throughout the animation stage of my project.
Building my final rig
Building my final rig was a case of carefully looking at the measurements and drawings I had done after my tests and then creating a sturdy frame to support the various elements. i used the workshop to create my two initial arms and saw the slots that the glass would fit into. It became clear upon trying to support the glass in the slots that the pane of glass would simply slip out of the bottom if not supported in some way. To solve the problem I purchased two clamps that could clamp onto the glass just above the slots in the wood. This turned out to be quite a useful solution as it allowed me to easily change how low down on the rig the glass was sitting. Having said that the clamps were not ideas as far as aesthetics were concerned and in future I would much prefer to build an enclosure in which the glass could sit more securely.
Once the arms to support the glass were made I took them home and proceeded to build a frame around them which would support my mac and also add rigidity to the arms so that the glass did not have a chance to fall out. I spray painted an MDF panel black and applied a Monster Logo to the front in order to make the piece more aesthetically pleasing and to direct the viewers attention to the glass. I made the stand for the television the precise height that would line up with the glass and used an MDF base to ensure it was not likely to topple over.
The construction mainly involved just getting the correct sized pieces of wood and then drilling pilot holes and screwing the structure together. It presented an unusual and enjoyable challenge as I have not done installation or woodwork on the course before. The final result is definitely a prototype style of rig however it does its job well and is very stable.
Seeing as i took quite a lot of photos I made a gallery you can have a scroll through to see some behind the scenes: – http://imgur.com/a/BBD7B
Third rig
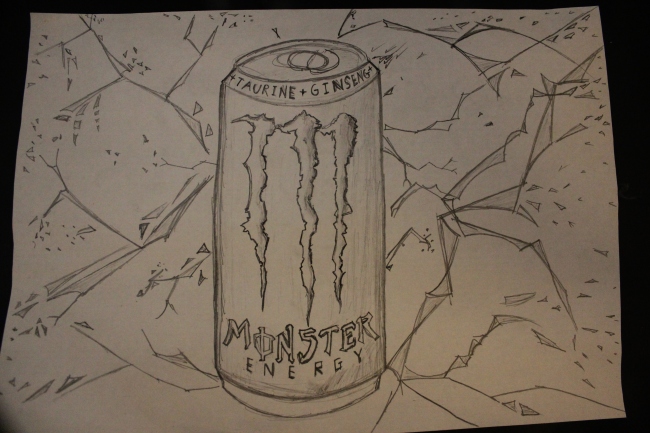
After my second rig I had established that I could project onto glass and successfully layer another image behind it. With my next rig I wanted to push the concept further still. My installation needs to have a purpose and as of now it is just two screen layered over eachother, the measter stroke here is to add a third element into the mix. This third element could be all manner of things, but for this project I have chosen to add a product in between the sheet of glass and the rear telly; a can of monster energy. Monster energy is a brand I am very familiar with, and for ths project I plan to make an installation based advertisement for it. This seems like a great solution to the problems I faced earlier, and gives me scope to create something that is both visually impressive and also useful in that n promotes a product.
I made my third rig in my room using my mac as the lower screen because its powerful back light meant it favoured that position. In past I had just used films or whatever is on telly to text out my concept. To progress with the theme of my work I chose to actual create custom elements for both front and rear screens. I made a simple textured animation featuring the monster logo for the back and a fast sparking explosive animation in purple for the front. This finally allowed me to gleam how my project may actually work.
This rig was essential because it allowed me to measure up and note down all of the various distances and angles featured on a working rig. I measured the distance from the floor in this instance and also measured how high people’s eye level was when they viewed it so that I could extrapolate the data and make the correct sized setup later on.
The project was now at a stage where I was not only successfully layering two video tracks over one another but I was also successfully animating textures over the front of my product, the video below shows my third rig in action.
